Checklist for Replacing a Truck Battery Without Mistakes
Replacing a truck battery without mistakes requires three steps: confirming the correct specifications before purchase (capacity, CCA, polarity, and system voltage), performing the replacement in the proper sequence - negative first when removing, positive first when installing - and checking the charging system afterward.
It may seem simple, but many of the problems unfairly attributed to a new battery actually begin during the replacement: loose mounting, improperly tightened terminals, an unbalanced pair in a 24V system, and even reversed polarity.
This checklist covers the entire process, from purchase checks to the proper disposal of the old battery.

First of all: Is the replacement really necessary?
Confirm the diagnosis before buying. Slow starting, flickering lights, and frequent emergency recharges are clear signs of a weak battery - but the same symptoms can occur when the alternator fails. Testing the battery and charging system helps distinguish between the two scenarios and prevents you from replacing a battery that is still in good condition.
Pre-Purchase Checklist
- Confirm the system voltage: one battery in 12V vehicles, a pair connected in series in 24V systems - when in doubt, see how to tell whether a truck is 12V or 24V.
- Note the capacity (Ah) and CCA specified by the manufacturer - the technical guidance can be found in the ideal battery by type of operation guide.
- Check the polarity (terminal position) and the dimensions of the battery tray.
- Check the manufacturing date: reject batteries that have been in storage for an extended period.
- Require proof of origin, an invoice, and a factory warranty.
- In a 24V system, purchase the complete pair: two identical batteries, preferably from the same batch.
Replacement Checklist, Step by Step
- Turn off the vehicle, remove the key, and deactivate the main switch, if there is one.
- Disconnect the negative cable first, then the positive cable.
- Carefully remove the old battery - use the handles and protect your back: truck batteries are heavy.
- Clean the battery tray and cable terminals; remove any corrosion.
- Position the new battery and secure it firmly: looseness causes vibration, and vibration shortens battery life.
- Connect the positive cable first, then the negative cable, using the correct torque.
- Apply terminal protection (specific grease) to prevent corrosion.
The cable sequence is not just a technical detail: it prevents accidental short circuits between the tool and the vehicle body during the service. The same procedure applies to cars - the step-by-step car battery replacement follows the same safety logic.
Special Precautions for 24V Systems
In a 24V system, the checklist has one golden rule: always replace both batteries together, with the same capacity, age, and state of charge. Mixing a new battery with a used one creates an imbalance in the series connection - the weaker battery limits the set and causes the new battery to wear out prematurely.
Also check the tightness of the connections between the two batteries (the series interconnection cable) - a classic poor-contact point that can easily go unnoticed.
After the Replacement: Testing and Disposal
Once the battery is installed, start the engine and measure the charging voltage while the engine is running: values outside the normal range indicate a problem with the alternator or regulator, which could destroy the new battery within weeks. During the first few days, monitor starting performance - the mistakes that shorten battery life often begin early.
The old battery should never be disposed of with regular household waste: return it at the time of purchase or take it to an authorized collection point. Reverse logistics for batteries is mandatory in Brazil (CONAMA Resolution 401/2008), and the Tudor network collects used batteries for recycling.
How Does Tudor Make the Right Replacement Easier?
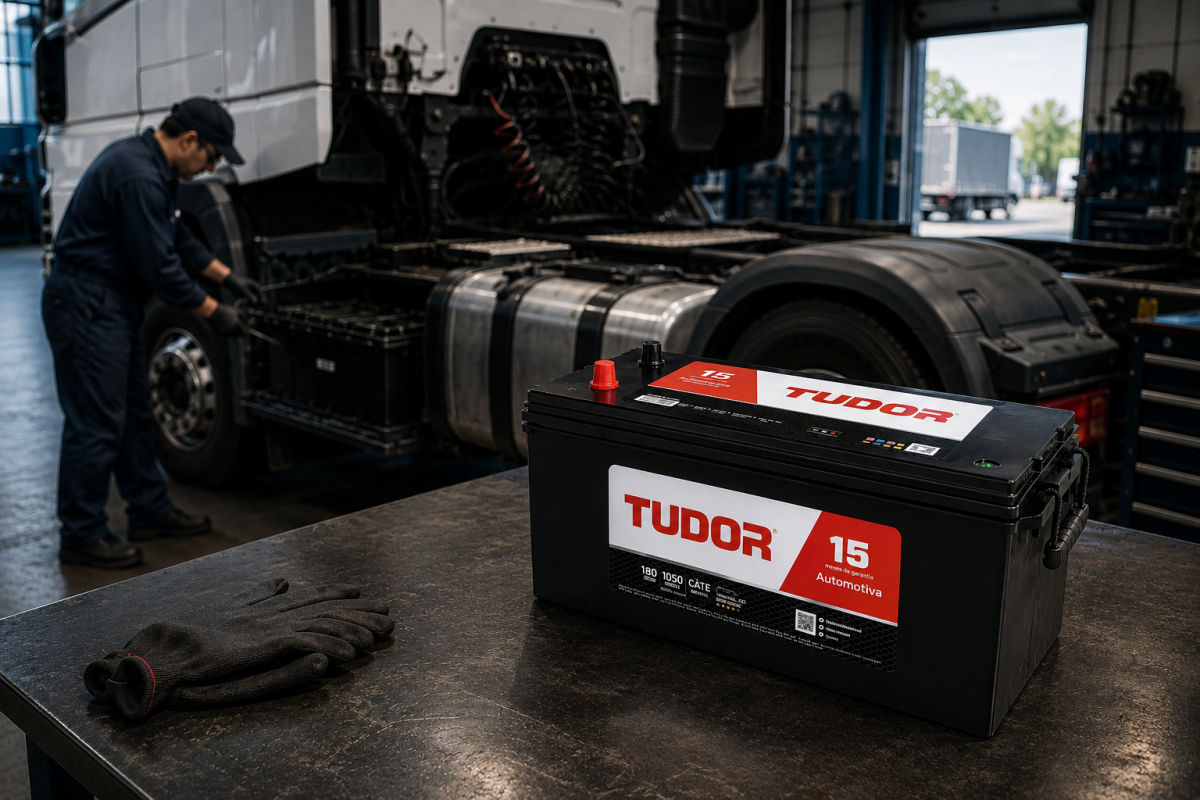
Tudor's heavy-duty line ranges from 100Ah to 220Ah, with high CCA, vibration-resistant construction, and maintenance-free batteries - the complete overview of the category is available in the Complete Guide to Truck Batteries. Before purchasing, the technical team can also confirm the exact specification for your model, year, and type of operation via WhatsApp.
Conclusion
A properly performed replacement accounts for half of the new battery's service life: confirmed specifications, a safe cable sequence, secure mounting, a balanced pair in 24V systems, and a validated charging system. With the checklist in hand, the operation takes just minutes - and can prevent months of headaches.
To buy the right battery the first time, visit which Tudor battery is ideal for your truck and speak with a specialist.
Frequently Asked Questions
Which cable should be disconnected first when replacing the battery?
Always disconnect the negative cable first when removing the battery. During installation, the order is reversed: positive first, negative last. This sequence prevents accidental short circuits during the service.
Can I replace only one battery in a 24V truck?
It is not recommended. The two batteries work in series and should be replaced together, with the same capacity and age, to prevent the system from becoming unbalanced.
What should I check before buying a new battery?
System voltage (12V or 24V), capacity, CCA, polarity, battery tray dimensions, recent manufacturing date, and a warranty from a reputable source.
Do I need to test the alternator after replacing the battery?
Yes. Measure the charging voltage while the engine is running: values outside the normal range indicate a charging system failure, which could quickly damage the new battery.
What should I do with the old truck battery?
Return it at the time of purchase or take it to an authorized recycling point. Disposal with regular waste is prohibited - reverse logistics is mandatory under CONAMA Resolution 401/2008.
Does a truck battery require special tools to replace?
Basic insulated tools are sufficient: wrenches for the terminals and mounting hardware. The essential points are following the correct cable sequence, cleaning the contacts, and applying the proper torque.
Read also

How Many Batteries Does a Truck Use? Understanding the Most Common Configurations
A truck uses one or two batteries, depending on its electrical system: light-duty vehicles and VUCs operate on 12V with a single battery, while medium-duty, medium-heavy, and heavy-duty trucks use two 12V batteries connected in series, forming a 24V system. The number of batteries is not the driver's choice - it is a design decision made by the manufacturer, based on the engine size and the vehicle's electrical demand. In this article, you'll understand why these two configurations exist, what changes in each one, and why, when used as a pair, the two batteries need to be treated as a single unit.
Continue reading
What Is the Ideal Truck Battery? Technical Selection Guide by Type of Operation
The ideal truck battery is the one that meets the manufacturer's specification for capacity, CCA, and polarity, sized for the type of operation: around 100Ah for urban light trucks, 150Ah to 180Ah for medium and medium-heavy trucks, and 220Ah for long-haul heavy-duty trucks - in pairs in 24V systems. In practice, two identical trucks may require different batteries: the operation - how many starts per day, which auxiliary equipment is installed, and how much power is consumed with the engine off - is what defines the actual energy demand. This guide organizes the choice into objective technical criteria so that the next replacement can be planned and accurate.
Continue reading

How to Tell Whether a Truck Is 12V or 24V: a Quick Guide to Avoid Mistakes
To determine whether a truck is 12V or 24V, check three things: the owner's manual, the number of installed batteries, and the dashboard voltmeter. Two 12V batteries connected in series indicate a 24V system; a single battery indicates a 12V system. This information may seem like a detail, but it defines the entire purchase: capacity, replacement method, and even the correct emergency-recharging procedure change from one system to the other. In this quick guide, you will learn how to identify your truck's system in minutes and understand what this difference changes in practice.
Continue reading